在创建一个真实的“Hello World!”之前,使用Node.js的应用程序,让我们看看Node.js应用程序的组件。
Node.js应用程序包含以下三个重要组件:
- Import required modules : 我们使用require 指令加载Node.js模块。
- Create server : 一个服务器,它将侦听类似于Apache HTTP Server的客户端请求。
- Read request and return response : 在前面步骤中创建的服务器将读取客户端发出的HTTP请求,该请求可以是浏览器或控制台并返回响应。
3.1. 创建Node.js应用程序
第1步 – 导入所需模块
我们使用require 指令加载http模块并将返回的HTTP实例存储到http变量中,如下所示:var http = require("http");
第2步 – 创建服务器
我们使用创建的http实例并调用http.createServer() 方法来创建服务器实例,然后使用与服务器实例关联的listen 方法将其绑定到端口8081。 传递一个带参数请求和响应的函数。 编写示例实现以始终返回“Hello World”。
http.createServer(function (request, response) {
   // Send the HTTP header
   // HTTP Status: 200 : OK
   // Content Type: text/plain
   response.writeHead(200, {'Content-Type': 'text/plain'});
   // Send the response body as "Hello World"
   response.end('Hello World\n');
}).listen(8081);
// Console will print the message
console.log('Server running at http://127.0.0.1:8081/');
上面的代码足以创建一个侦听的HTTP服务器,即等待本地机器上8081端口的请求。
第3步 – 测试请求和响应
让我们将第1步和第2步放在一个名为main.js 的文件中,然后启动我们的HTTP服务器,如下所示:
var http = require("http");
http.createServer(function (request, response) {
   // Send the HTTP header
   // HTTP Status: 200 : OK
   // Content Type: text/plain
   response.writeHead(200, {'Content-Type': 'text/plain'});
   // Send the response body as "Hello World"
   response.end('Hello World\n');
}).listen(8081);
// Console will print the message
console.log('Server running at http://127.0.0.1:8081/');
现在执行main.js以启动服务器,如下所示:$ node main.js。验证服务器已启动:Server running at http://127.0.0.1:8081/。
3.2. 向Node.js服务器发出请求
在任何浏览器中打开 http://127.0.0.1:8081/ 并观察以下结果。
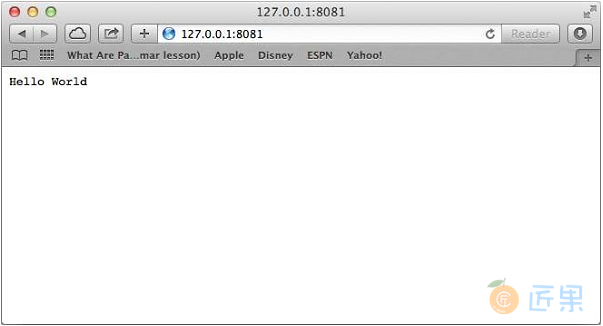
恭喜,您已启动并运行第一个HTTP服务器,它响应端口8081上的所有HTTP请求。
下一节:REPL 代表 Read Eval Print Loop,它代表一个计算机环境,如Windows 控制台或 Unix/Linux shell,其中输入命令并且系统以交互模式响应输出。