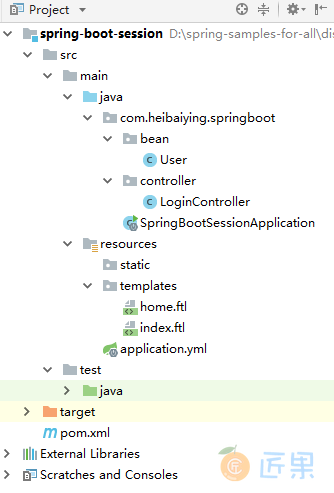
一、项目结构
二、实现分布式 Session
2.1 基本依赖
<!--分布式 session 相关依赖-->
<dependency>
    <groupId>org.springframework.boot</groupId>
    <artifactId>spring-boot-starter-data-redis</artifactId>
</dependency>
<dependency>
    <groupId>org.springframework.session</groupId>
    <artifactId>spring-session-data-redis</artifactId>
</dependency>
2.2 实现原理
Spring 通过将 Session 信息存储到公共容器中,这样不同的 Web 服务就能共享到相同的 Session 信息,从而实现分布式 Session。Spring 支持使用 Redis, JDBC,MongoDB,Hazelcast 等作为公共的存储容器,可以在配置文件中使用参数 session.store-type 进行指定。
这里我们以 Redis 作为公共的存储容器,配置如下。同时对于 Redis 存储方案,官方提供了 Jedis 和 Lettuce 两种客户端连接,这里我们选用的是 Jedis 连接:
spring:
  redis:
    host: 127.0.0.1
    port: 6379
    jedis:
      pool:
        # 连接池最大连接数,使用负值表示无限制。
        max-active: 8
        # 连接池最大阻塞等待时间,使用负值表示无限制。
        max-wait: -1s
        # 连接池最大空闲数,使用负值表示无限制。
        max-idle: 8
        # 连接池最小空闲连接,只有设置为正值时候才有效
        min-idle: 1
    timeout: 300ms
  session:
    # session 存储方式 支持 redis、mongo、jdbc、hazelcast
    store-type: redis
# 如果是集群节点 采用如下配置指定节点
#spring.redis.cluster.nodes
2.3 自动配置
在启动类上添加 @EnableRedisHttpSession 开启 spring-session-redis 整合方案的自动配置:
@SpringBootApplication
@EnableRedisHttpSession(maxInactiveIntervalInSeconds= 1800) //开启 redis session 支持,并配置 session 过期时间
public class SpringBootSessionApplication {
    public static void main(String[] args) {
        SpringApplication.run(SpringBootSessionApplication.class, args);
    }
}
三、验证分布式 Session
3.1 测试准备
创建测试接口和测试页面:
@Controller
public class LoginController {
    @RequestMapping
    public String index() {
        return "index";
    }
    @RequestMapping("home")
    public String home() {
        return "home";
    }
    @PostMapping("login")
    public String login(User user, HttpSession session) {
        // 随机生成用户 id
        user.setUserId(Math.round(Math.floor(Math.random() * 10 * 1000)));
        // 将用户信息保存到 id 中
        session.setAttribute("USER", user);
        return "home";
    }
}
登录页面 index.ftl:
<!doctype html>
<html lang="en">
<head>
    <title>登录页面</title>
</head>
<body>
    <form action="/login" method="post">
        用户:<input type="text" name="username"><br/>
        密码:<input type="password" name="password"><br/>
        <button type="submit">登录</button>
    </form>
</body>
</html>
Session 信息展示页面 home.ftl:
<!doctype html>
<html lang="en">
<head>
<title>主页面</title>
</head>
<body>
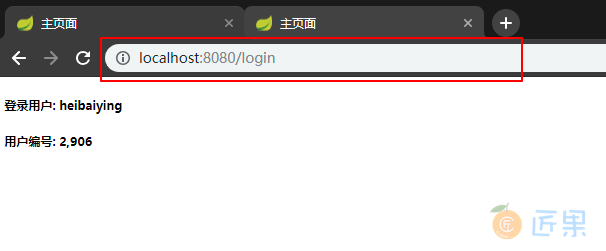
<h5>登录用户: ${Session["USER"].username} </h5>
<h5>用户编号: ${Session["USER"].userId} </h5>
</body>
</html>
3.2 测试结果
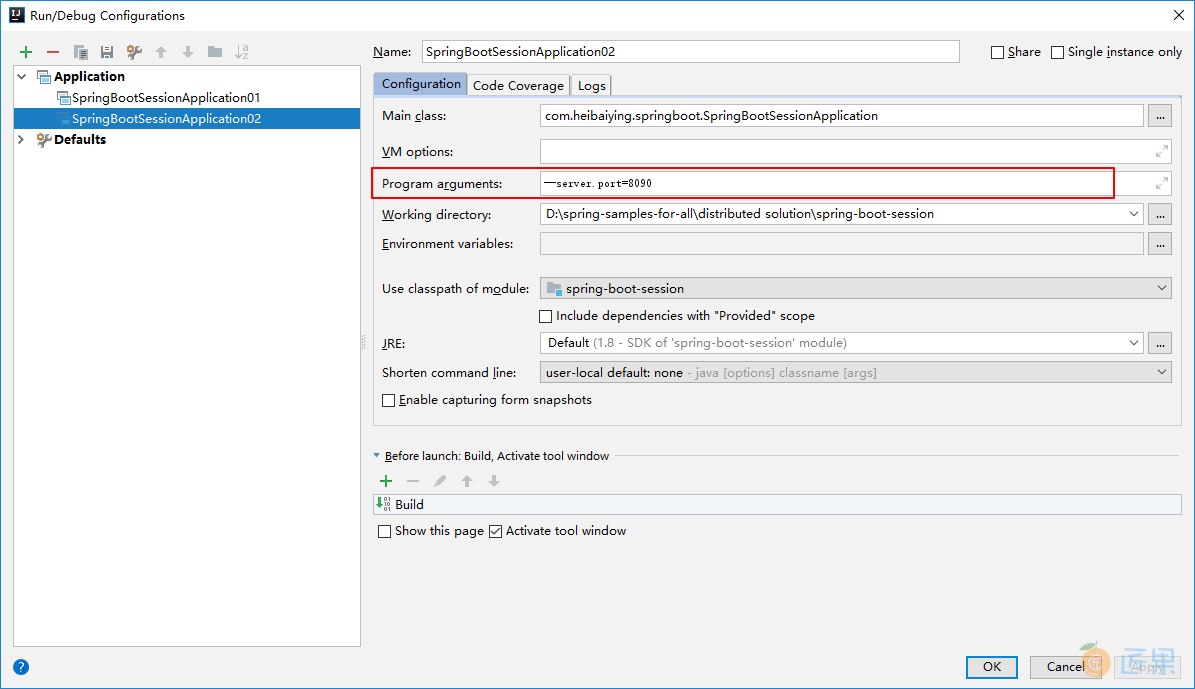
这里我采用的是 Spring Boot 的内置的 Web 容器,直接启动两个实例测试即可:
应用 1 启动配置:

应用 2 启动配置,需要用 --server.port 指定不同的端口号:
测试结果: